How to set up a Mintlayer Node
Note: Skip steps 1 & 2 if you already have Git installed
Step 1: Check if you have Git installed #
-
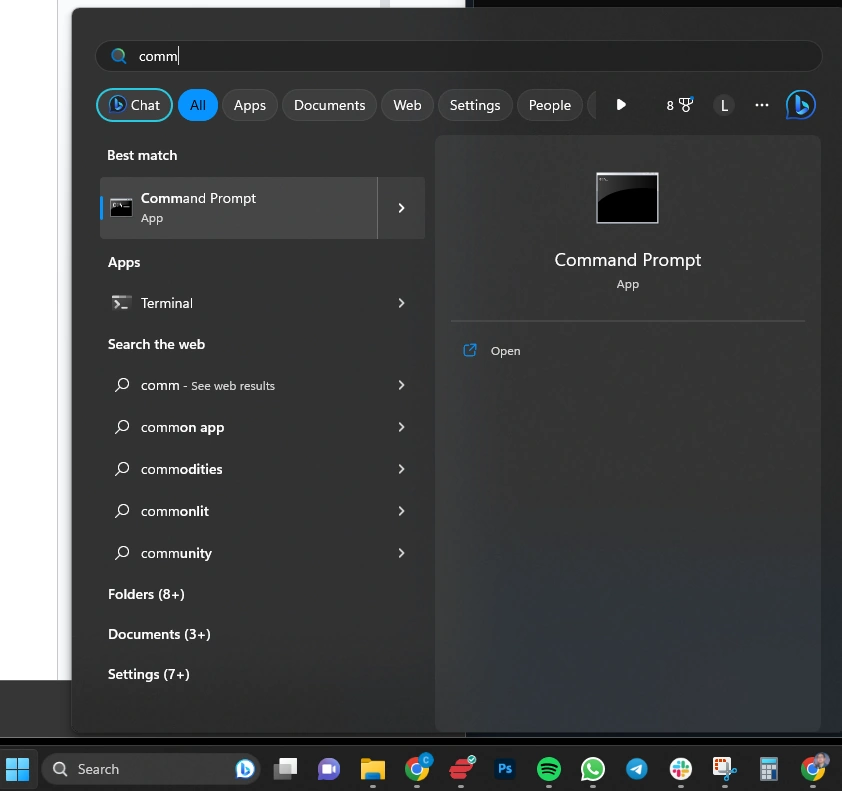
For Mac, open the “Terminal” application and for Windows, open the “Command Prompt” application
-
Once you’ve opened your terminal application, type
git versionon the command line.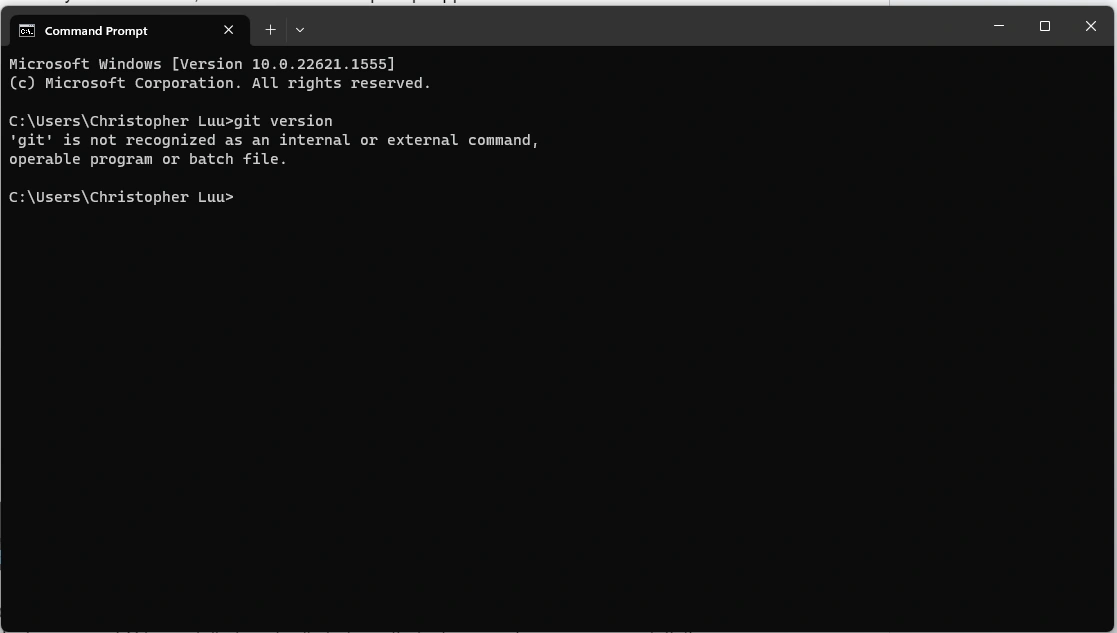
-
The output will either tell you which version of Git is installed, or it will output that “git is not recognized as an internal or external command”. 4. If it’s an unknown command, read further and find out how to install Git.
Step 2: Install “Git” #
-
To install “Git” - follow the link for the guide and follow directions based on your Operating System (Mac, Windows, Linux) https://github.com/git-guides/install-git
-
Download and open the file installer, follow the prompts and select the “Git” recommended settings during the installation.
-
After “Git” installation is complete, verify it is installed correctly. To do so, open your terminal application “Terminal” on Mac and “Command Prompt” in Windows.
-
Once you’ve opened your terminal application, type
git versionon the command line.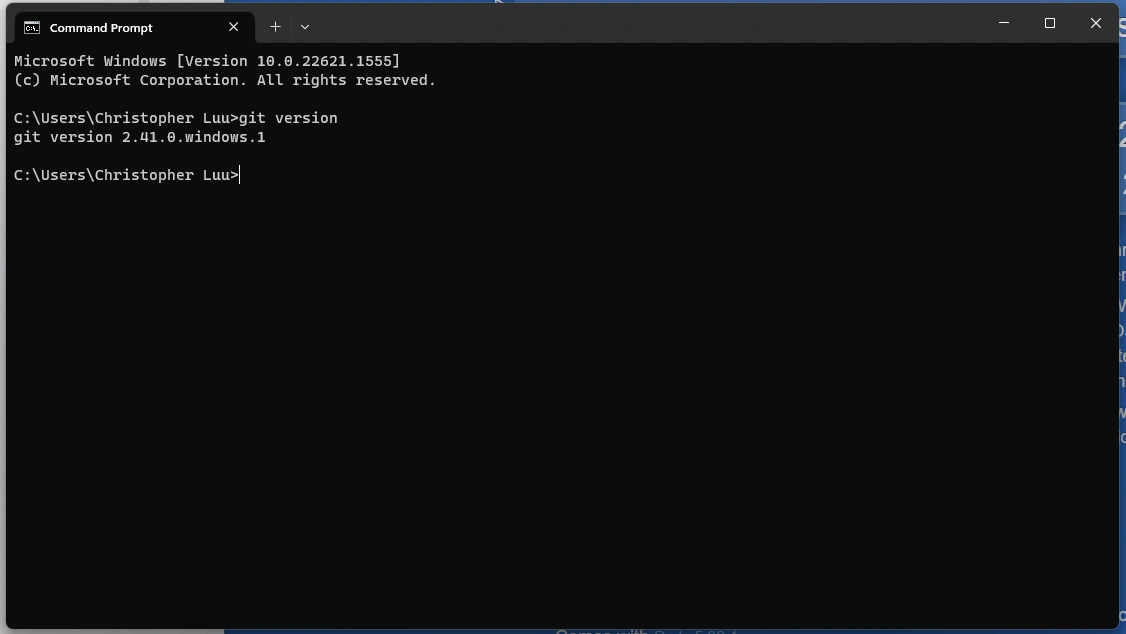
-
If installed correctly, it will output the current git version installed, for example “git version 2.41.0.windows.1”.
Step 3: Install Rust Compiler #
-
Download, install and run the latest rust compiler from Rust:
https://rustup.rs/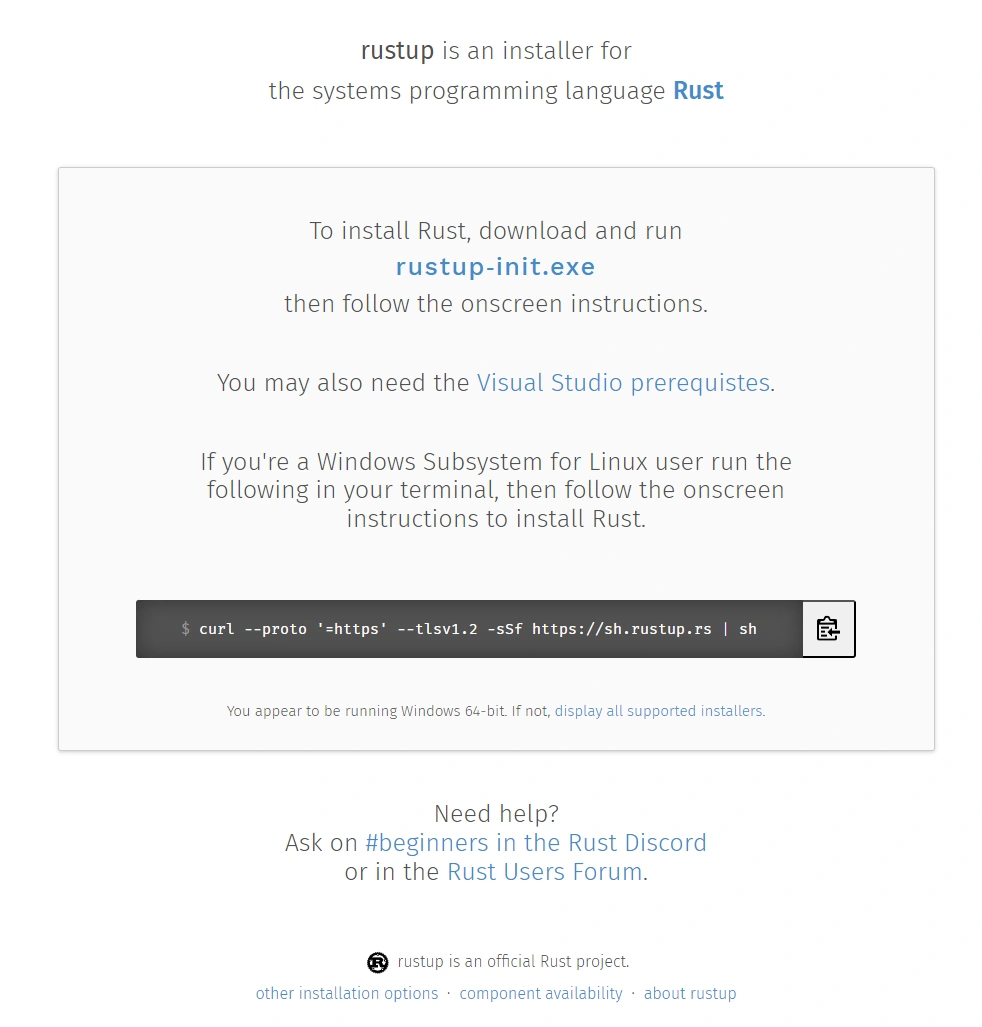
-
Click on the “rustup-init” file that you downloaded to run or copy the prompt into your terminal application.
-
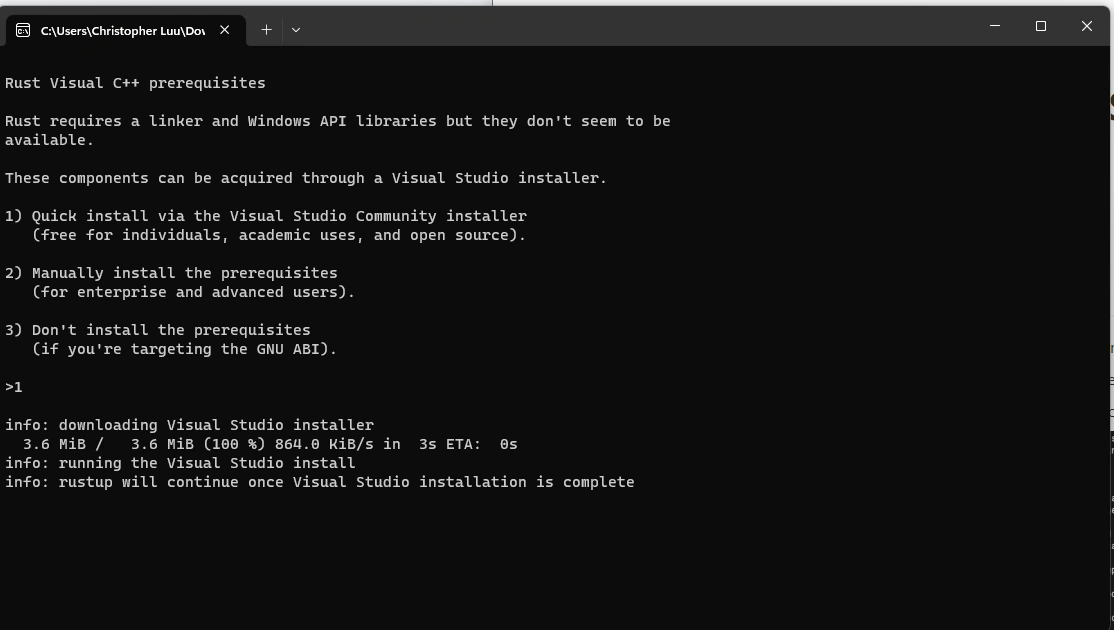
Once you click on the file, it will automatically open up your terminal application.
-
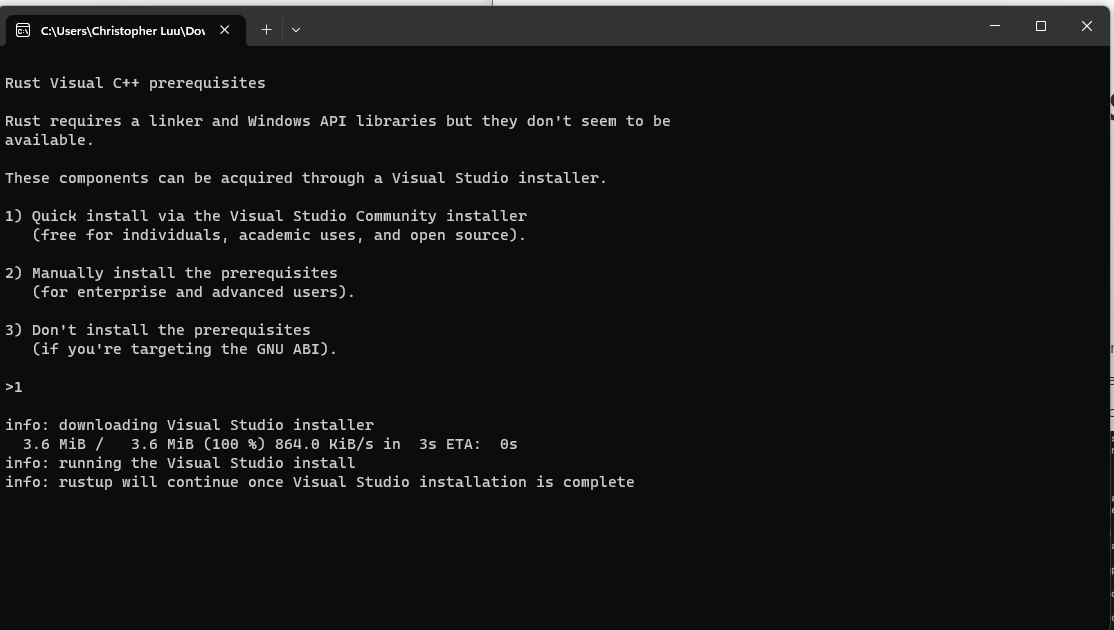
Windows users; if you don’t have Windows Visual Studio installed, Rust will require you to install before continuing. Enter “1” in the command line to select “Quick install via the Visual Studio Community installer”.
-
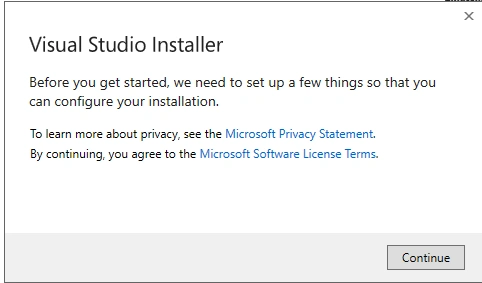
Once you enter “1” in the command line you will get another pop up window for Visual Studio Installer. Click “Continue” and run through all the prompts to install Visual Studio. Rust will not complete installation until Visual Studio Install is Complete.
-
After the installation is complete, you will need to restart your computer.
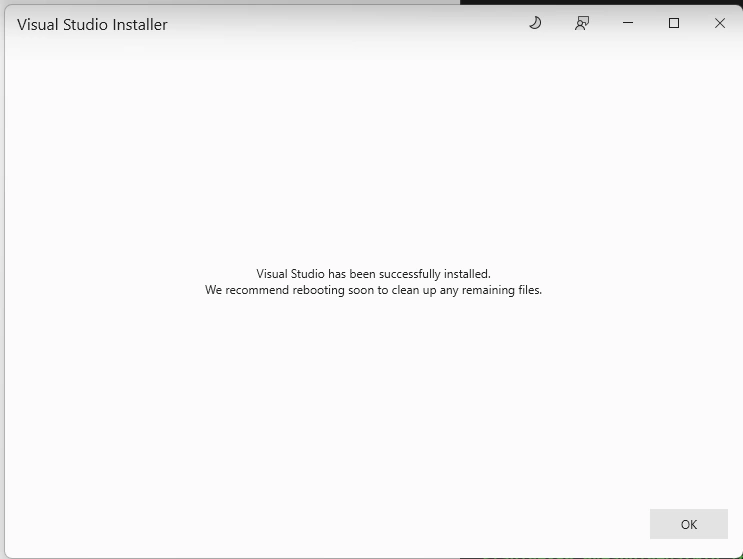
-
After you restart your computer click on the “rustup-init” file again that you downloaded earlier and it will open up your terminal application. Hit enter and Rust will finish installation on your computer.
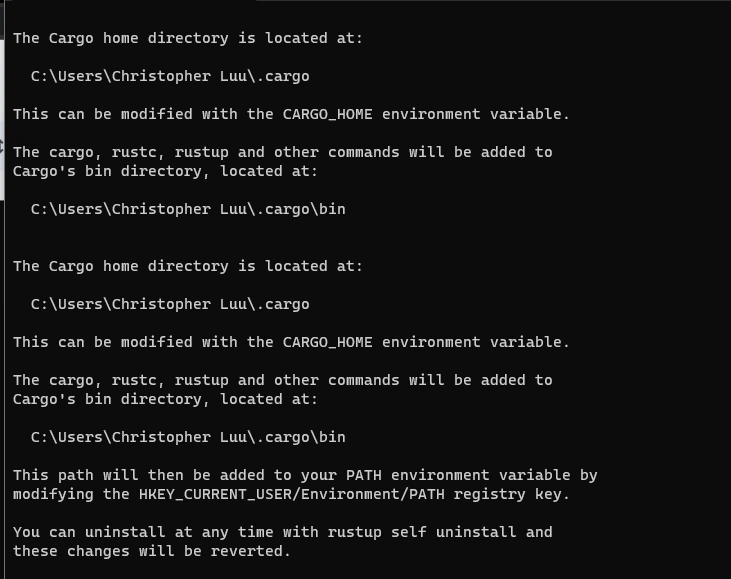
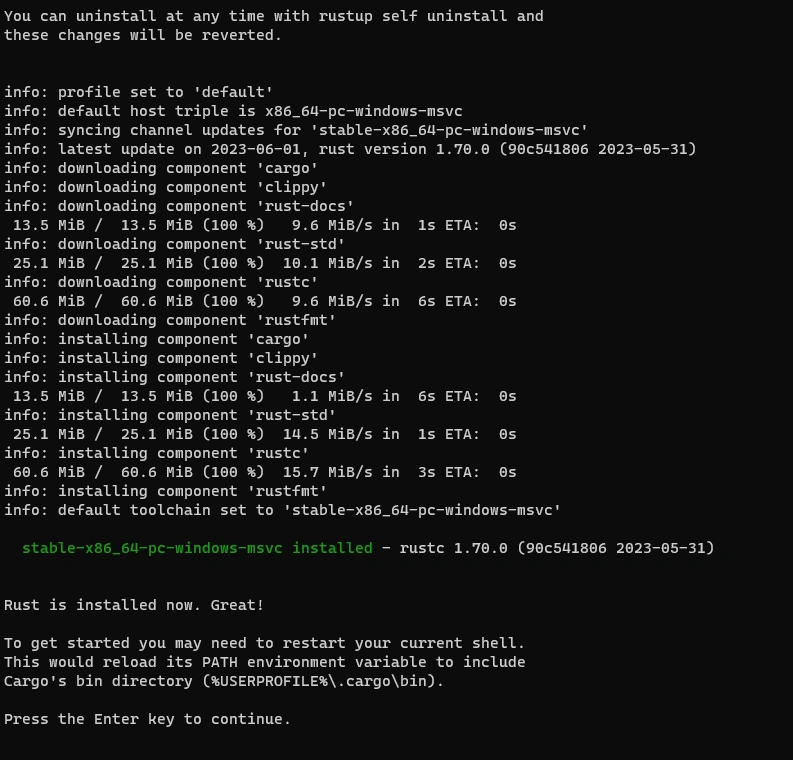
-
If installed correctly you get the message “Rust is installed now. Great! …”
Step 4: Download Mintlayer Core #
-
Open your “Terminal” or “Command Prompt” application. Windows users will need to “Run as administrator” to get the program working properly.
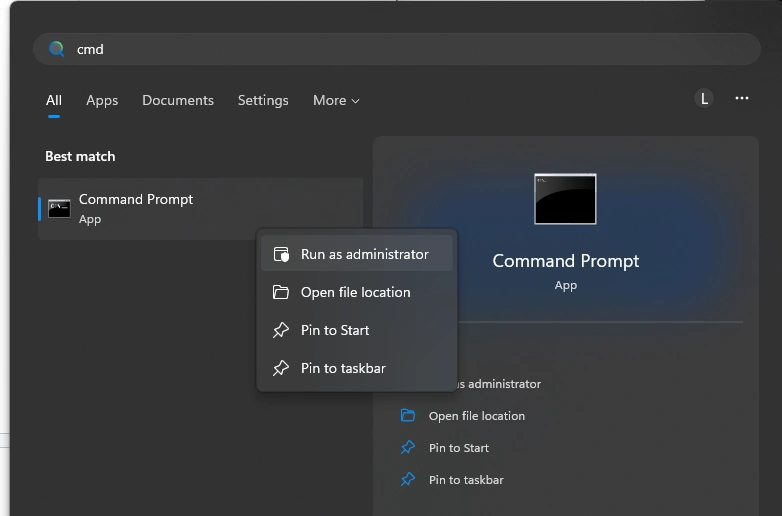
-
Enter command
git clone <https://github.com/mintlayer/mintlayer-core>
This will download the clone onto your computer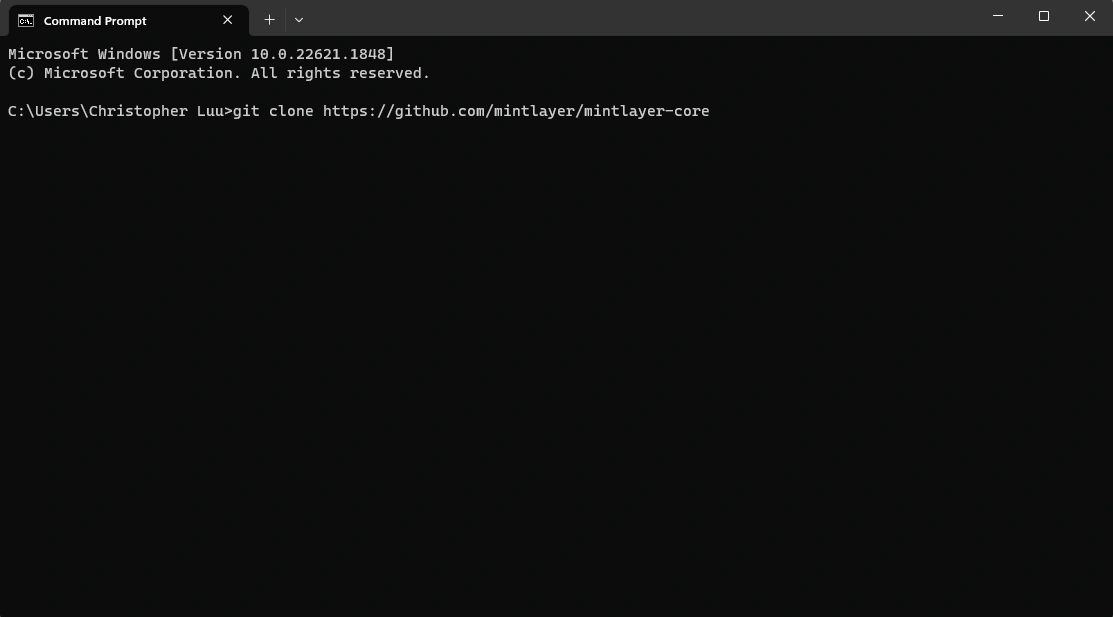
Step 5: Install Mintlayer Core #
-
Open two separate Terminal (Mac) or Command Prompt (Windows) applications.
Note: For Windows Command Prompt, open both windows with administrator privileges.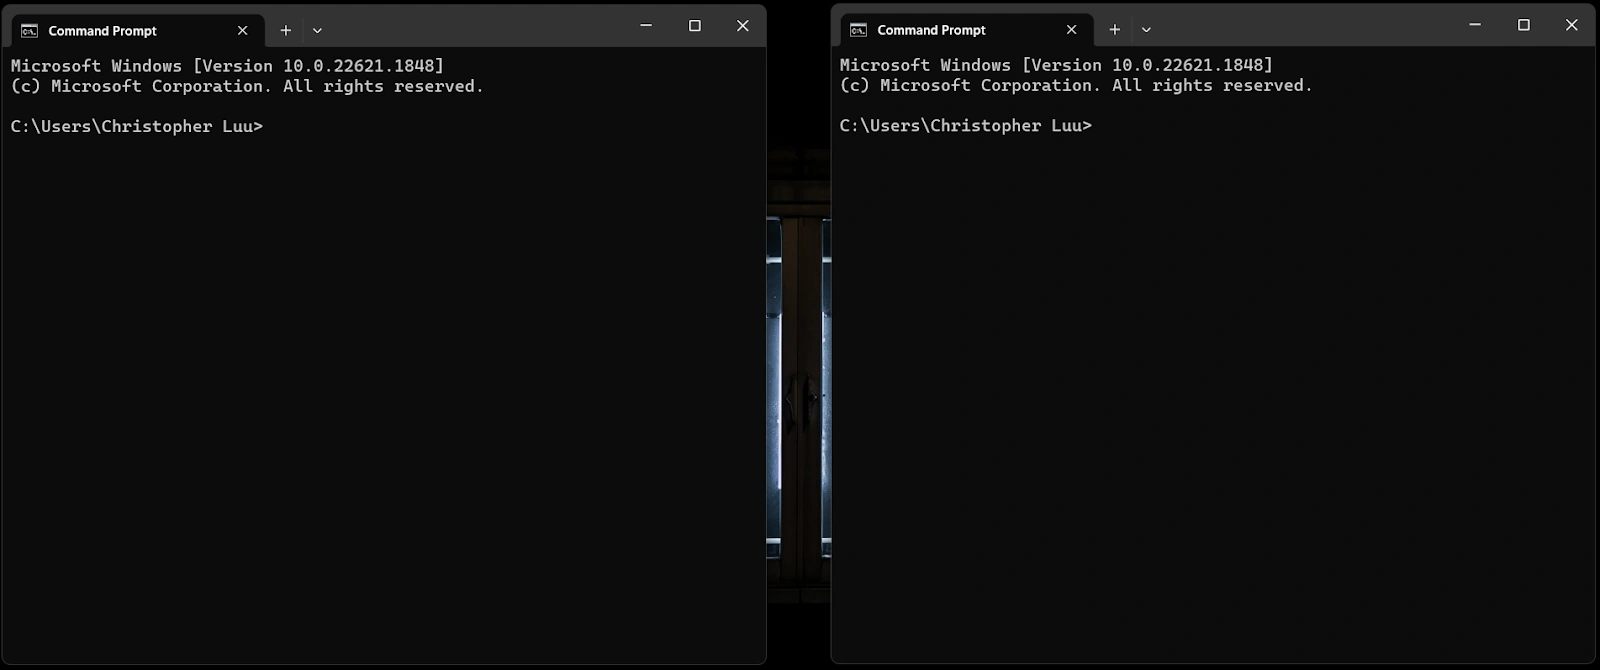
-
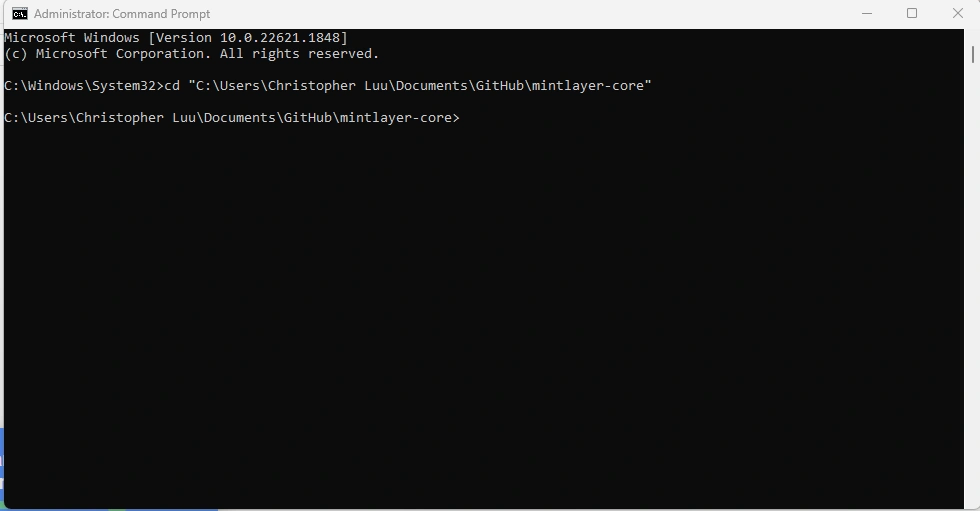
Navigate to the “mintlayer-core” directory in each terminal application. To navigate to the directory enter command “cd” then type the space on your hard drive you stored or downloaded the “mintlayer core” to. Put the space in quotes
"C:users\username\desktop\mintlayer-core"For example the command should look something like:cd "C:\Users\Christopher Luu\Documents\GitHub\mintlayer-core"Enter the same command in both terminal windows.
-
Make sure you check out the latest tag. We use tags to represent releases and choosing the latest one will ensure you’re using the latest release. You can see a list of tags here. At the time of writing the latest tag is 0.1.1. You can checkout a tag by using the checkout command like in the following example
git checkout v0.1.1. -
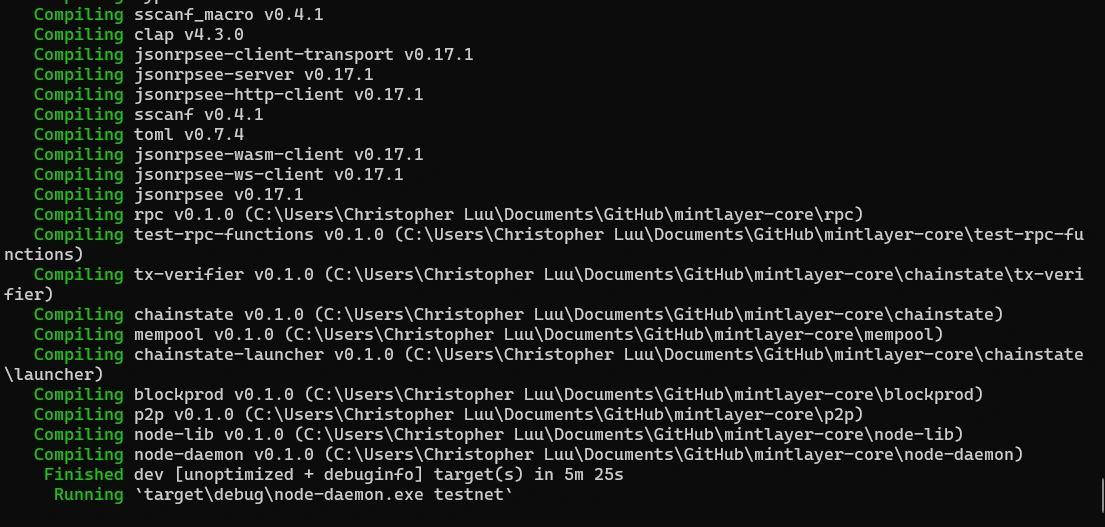
After you have navigated to “mintlayer-core” in both terminals. In the first terminal, enter the command:
cargo run --bin node-daemon -- testnet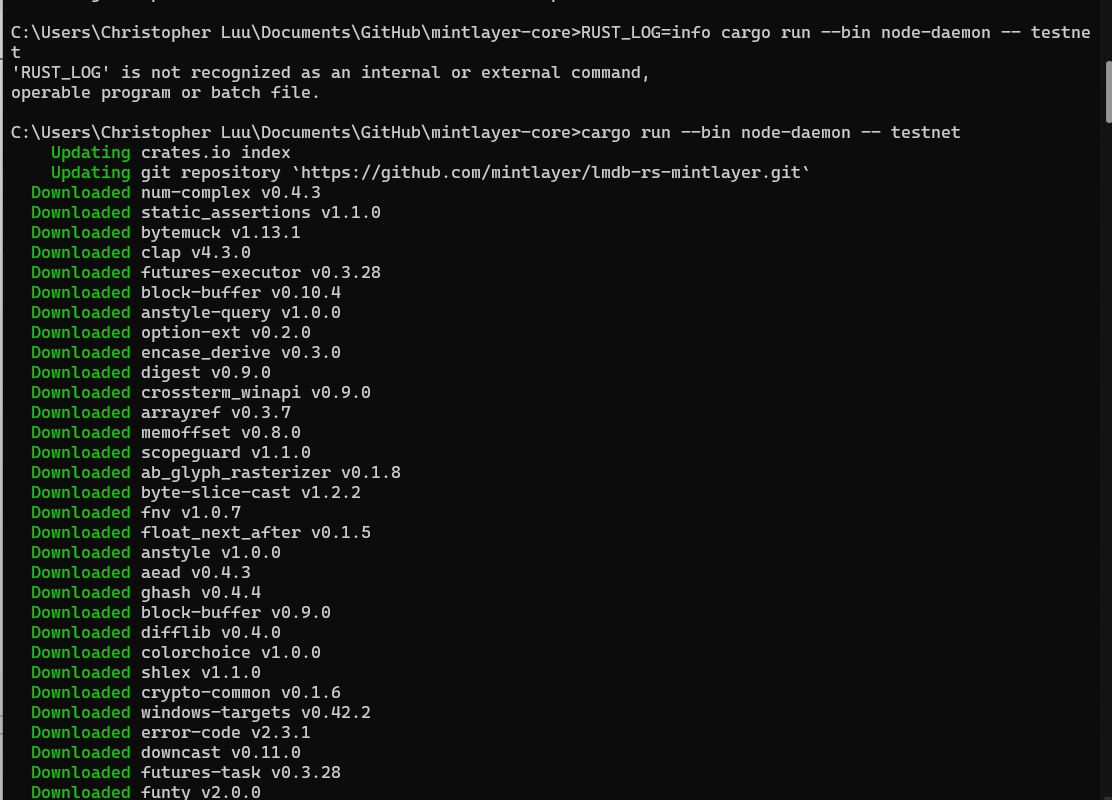
-
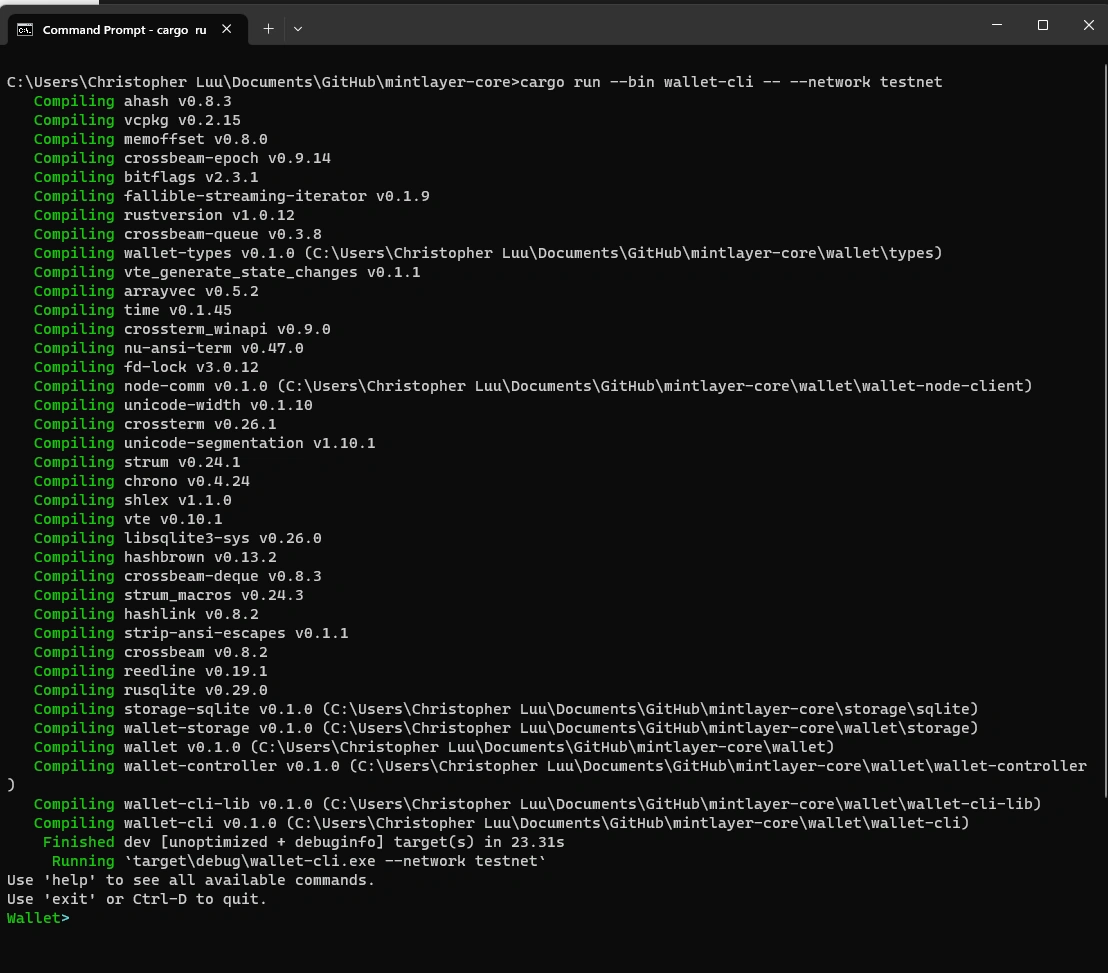
In the second terminal enter command:
cargo run --bin wallet-cli -- --network testnet -
Please wait while both terminal instances execute their commands. It will say “Finished” at the bottom of the window when completed. Note: Make sure you enter these in two separate windows in this order. If you do not do it in this order, it will not work.
Step 6: Create a Mintlayer Wallet #
-
In the second terminal application, enter the command:
createwallet <directory> "mnemonic"The syntax of this command is as follows:
createwalletis entered as is, and is the command to create a new wallet.<directory>is a placeholder term. Replace this with the directory you want to create to store your wallet."Mnemonic"is your seed phrase (in quotes). If you wish to specify your own seed phrase, it needs to be a valid bep39 mnemonic.Note:
"mnemonic"is an optional variable. If you don’t enter a"mnemonic", the system will create one for you.IMPORTANT: Ensure you write your mnemonic phrase down and save it in a safe place, as there is no way to recover this phrase and access your wallet without it.
Wallet creation examples:
createwallet "C:/Users/YourUsername/MyNewWallet"createwallet "C:/users/Christopher Luu/documents"createwallet "C:/users/Christopher Luu/documents" "smoke jaguar vital wear live seek mouse song lecture syrup paddle private"If you have entered the command successfully, it will say “New Wallet created successfully” and give the mnemonic to restore your wallet.

-
After this command is entered correctly, the wallet will start syncing with the Mintlayer blockchain. You will see a screen like this that keeps adding blocks.
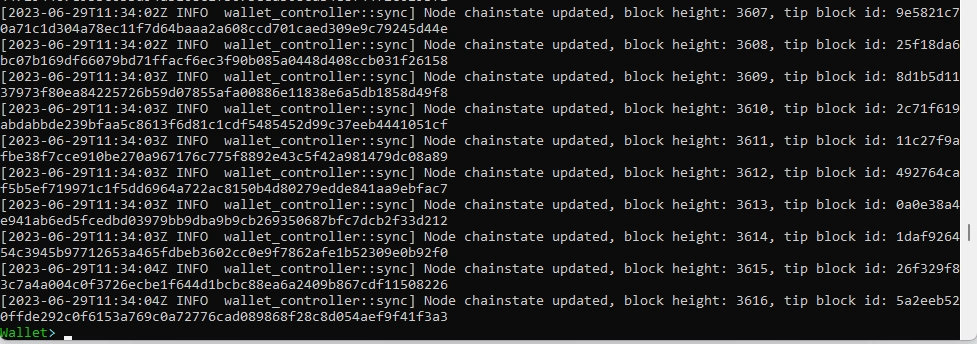
Wait until it finishes syncing. Depending on the chainstate, this will take some time to complete.
-
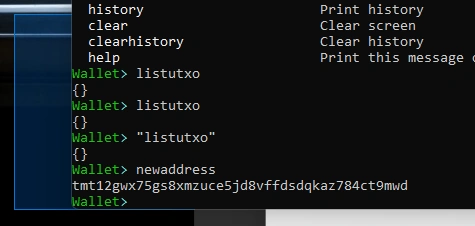
After the wallet has synced. You can type command “New address” to receive your new wallet address.
-
To see the full list of commands you can always enter command “help”
